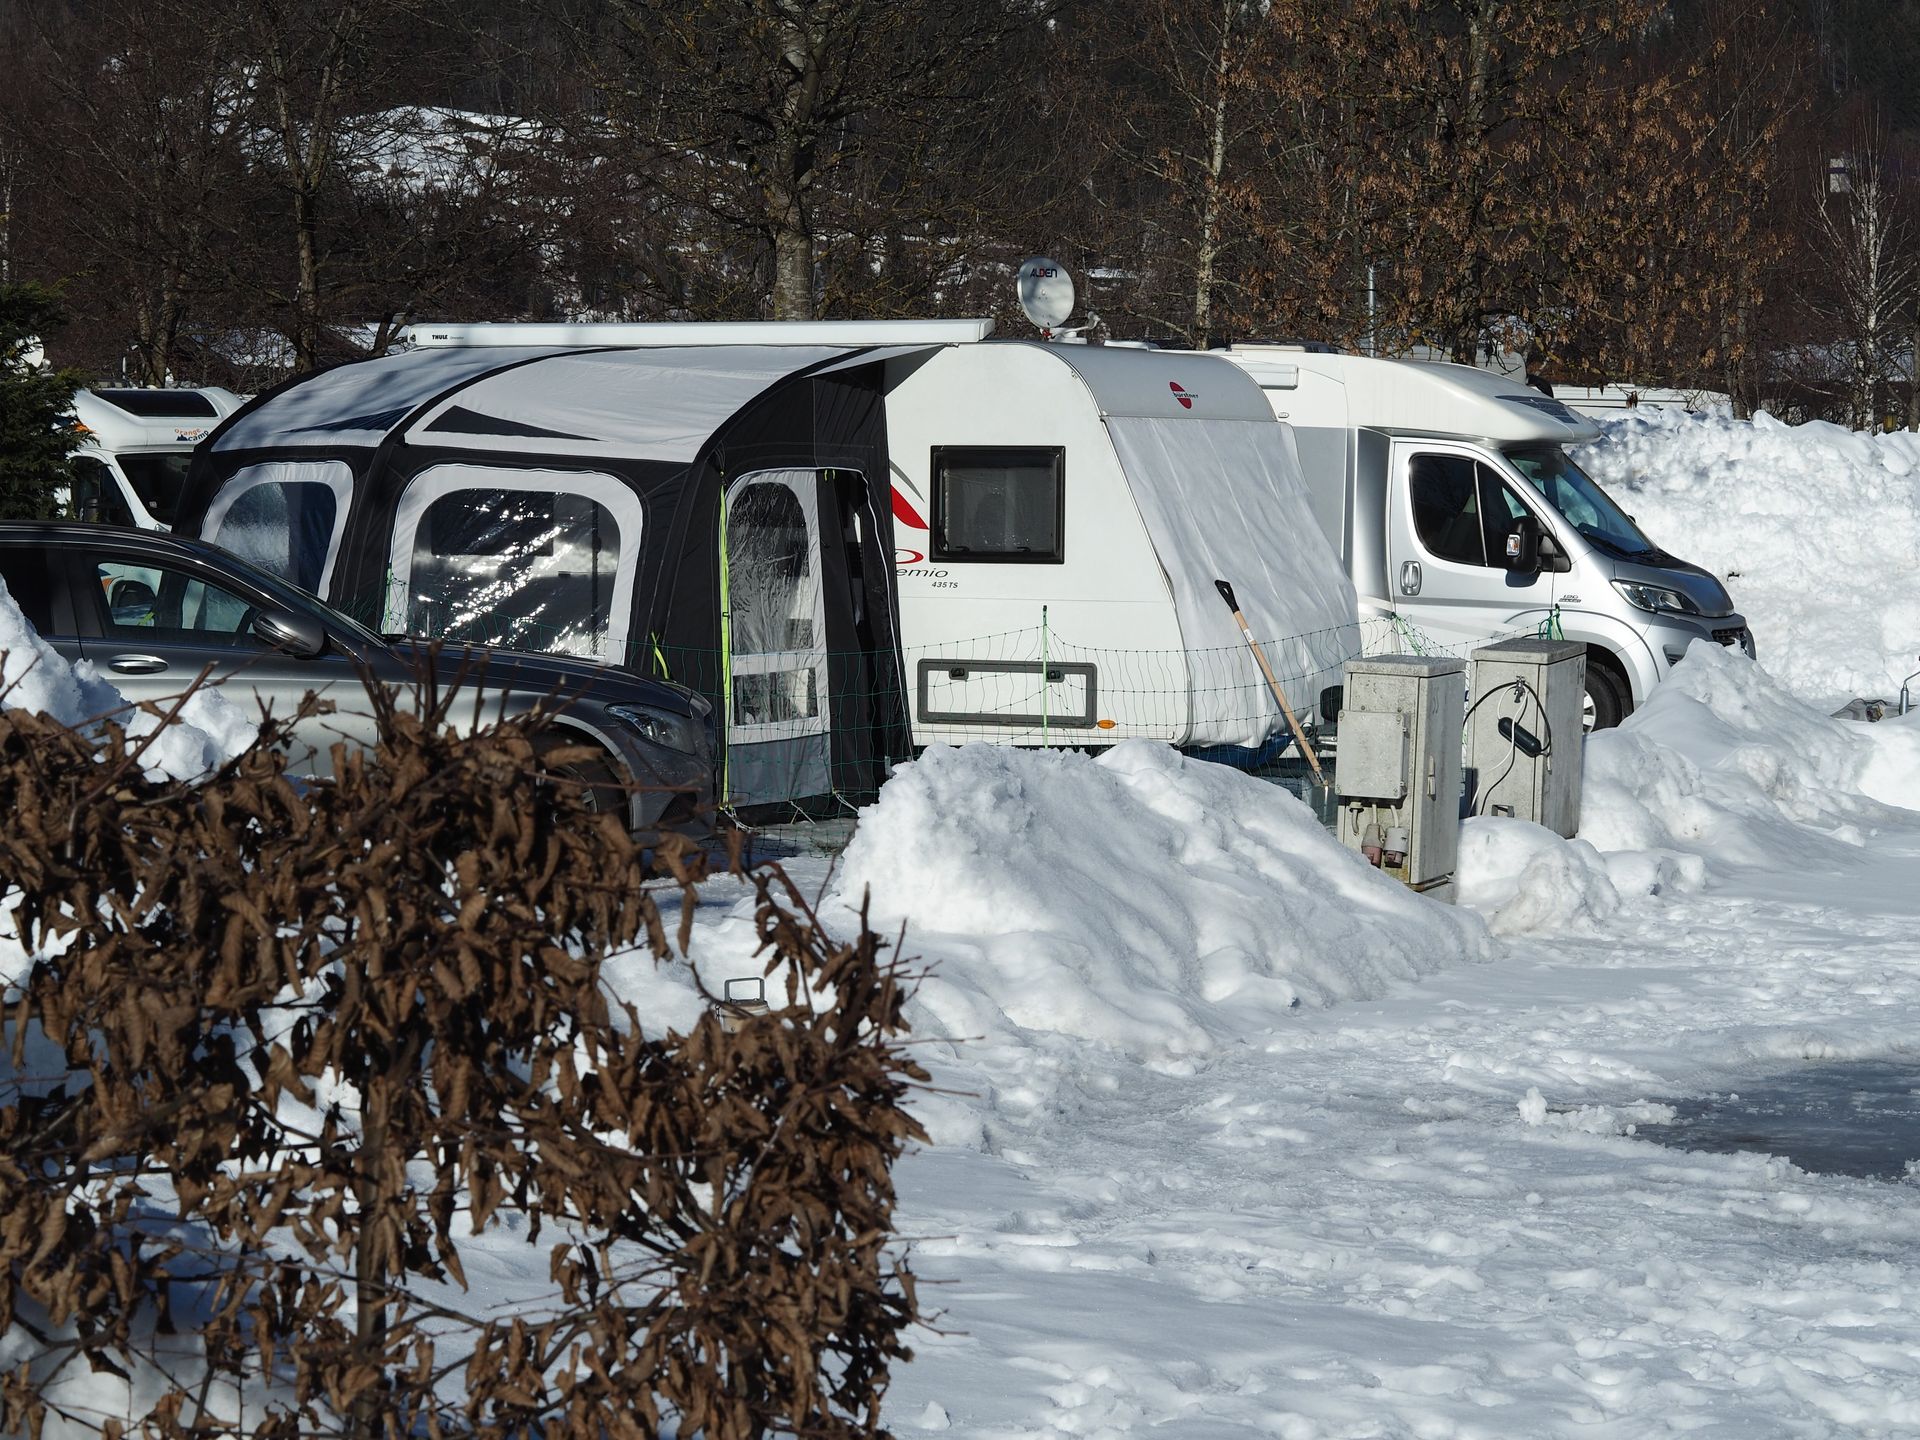
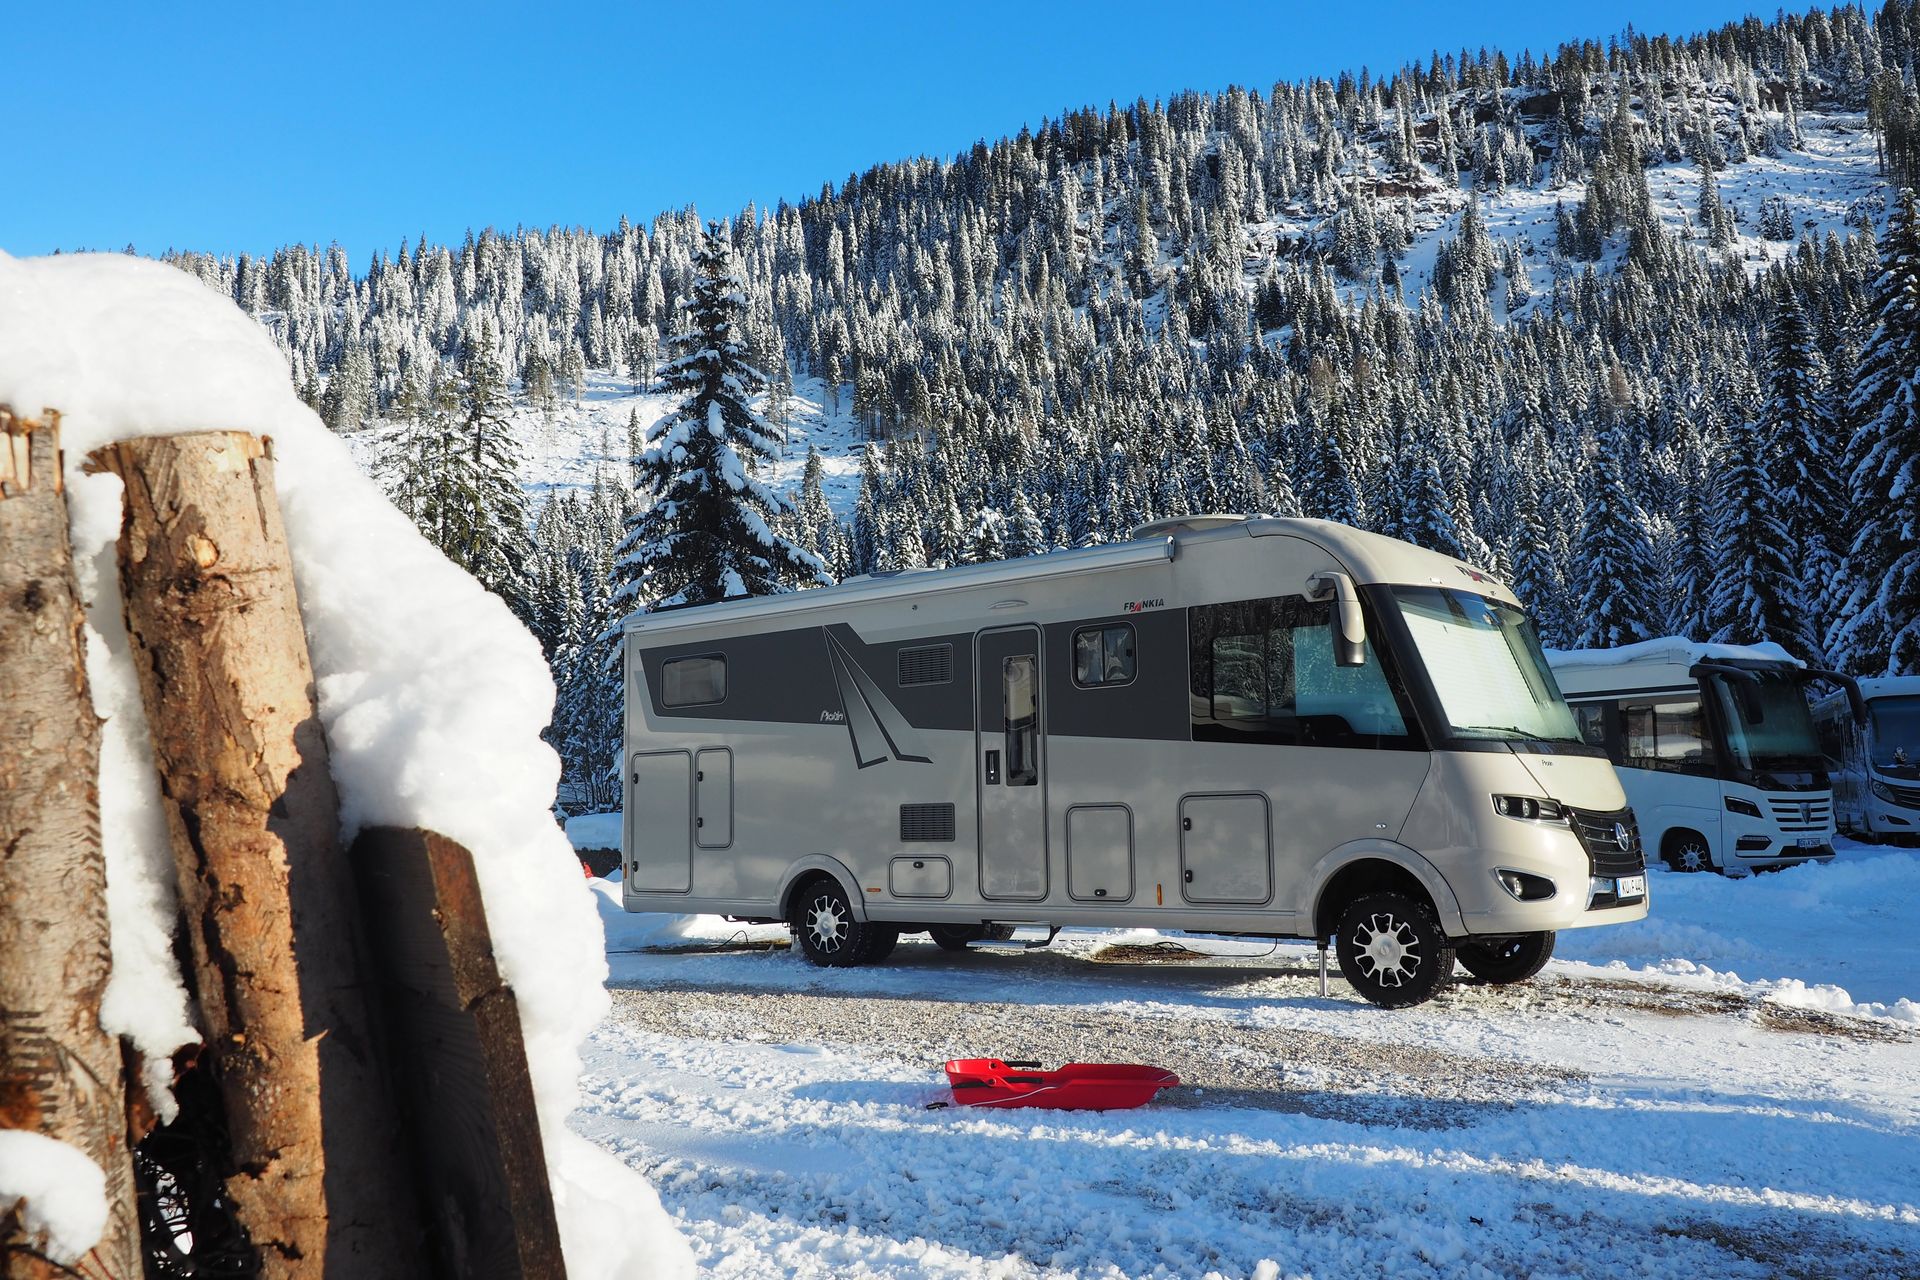
Campervan and caravan in winter? Sure!
Many new caravanning apprentices have had their first summer and autumn trips behind them. Many of us have purchased our houses on wheels to become independent from the accommodation infrastructure and be able to travel on our own terms in spring, summer and autumn. At the back of their heads, however, many people have stereotypes about the limitations of winter escapades. Could something be wrong? Nothing could be more wrong!
In winter, contrary to appearances, we have wide opportunities to park directly on the slope or visit charming places without worrying about a parking space or accommodation. With a little planning and preparation, most newer vehicles can handle it easily. The below-mentioned guide and checklists enter the blood of every winter caravanning enthusiast and become an automatic ritual rather than an unpleasant duty.
Is your equipment cold-resistant?
We must be aware of the design assumptions of our vehicles. Modern campers and caravans have well-insulated walls, floors and roofs. Double-glazed windows are an additional element that effectively insulates the interior. Winter versions often have additional insulation for clean and gray water tanks.
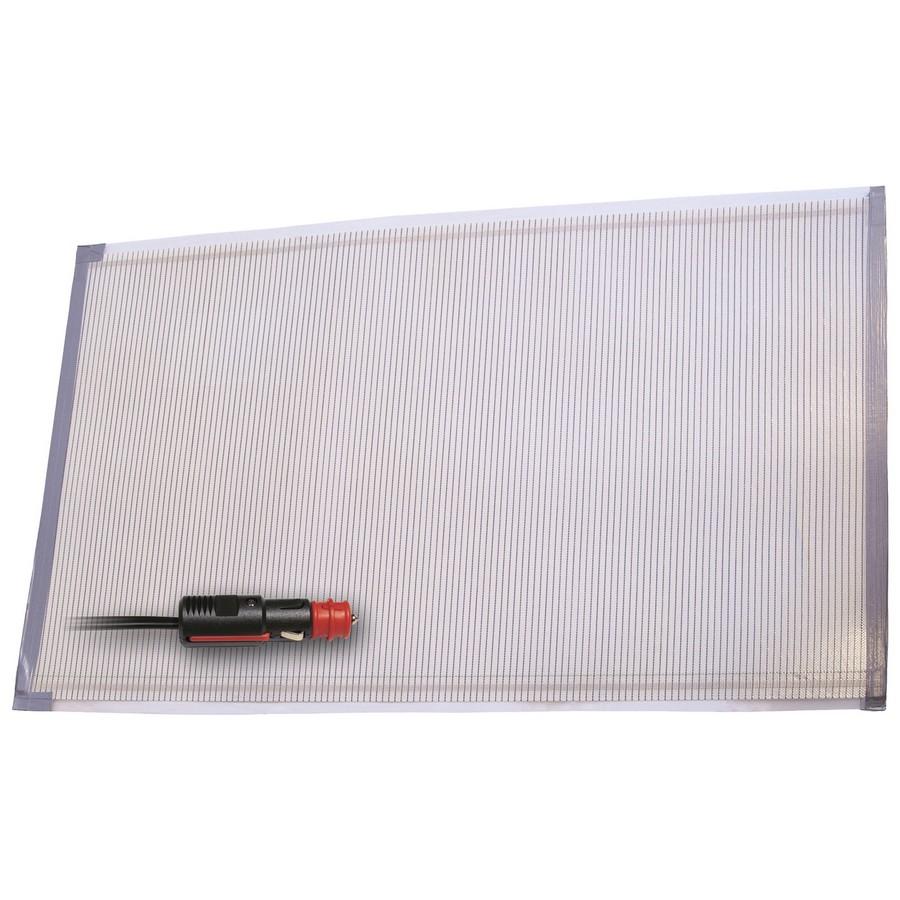
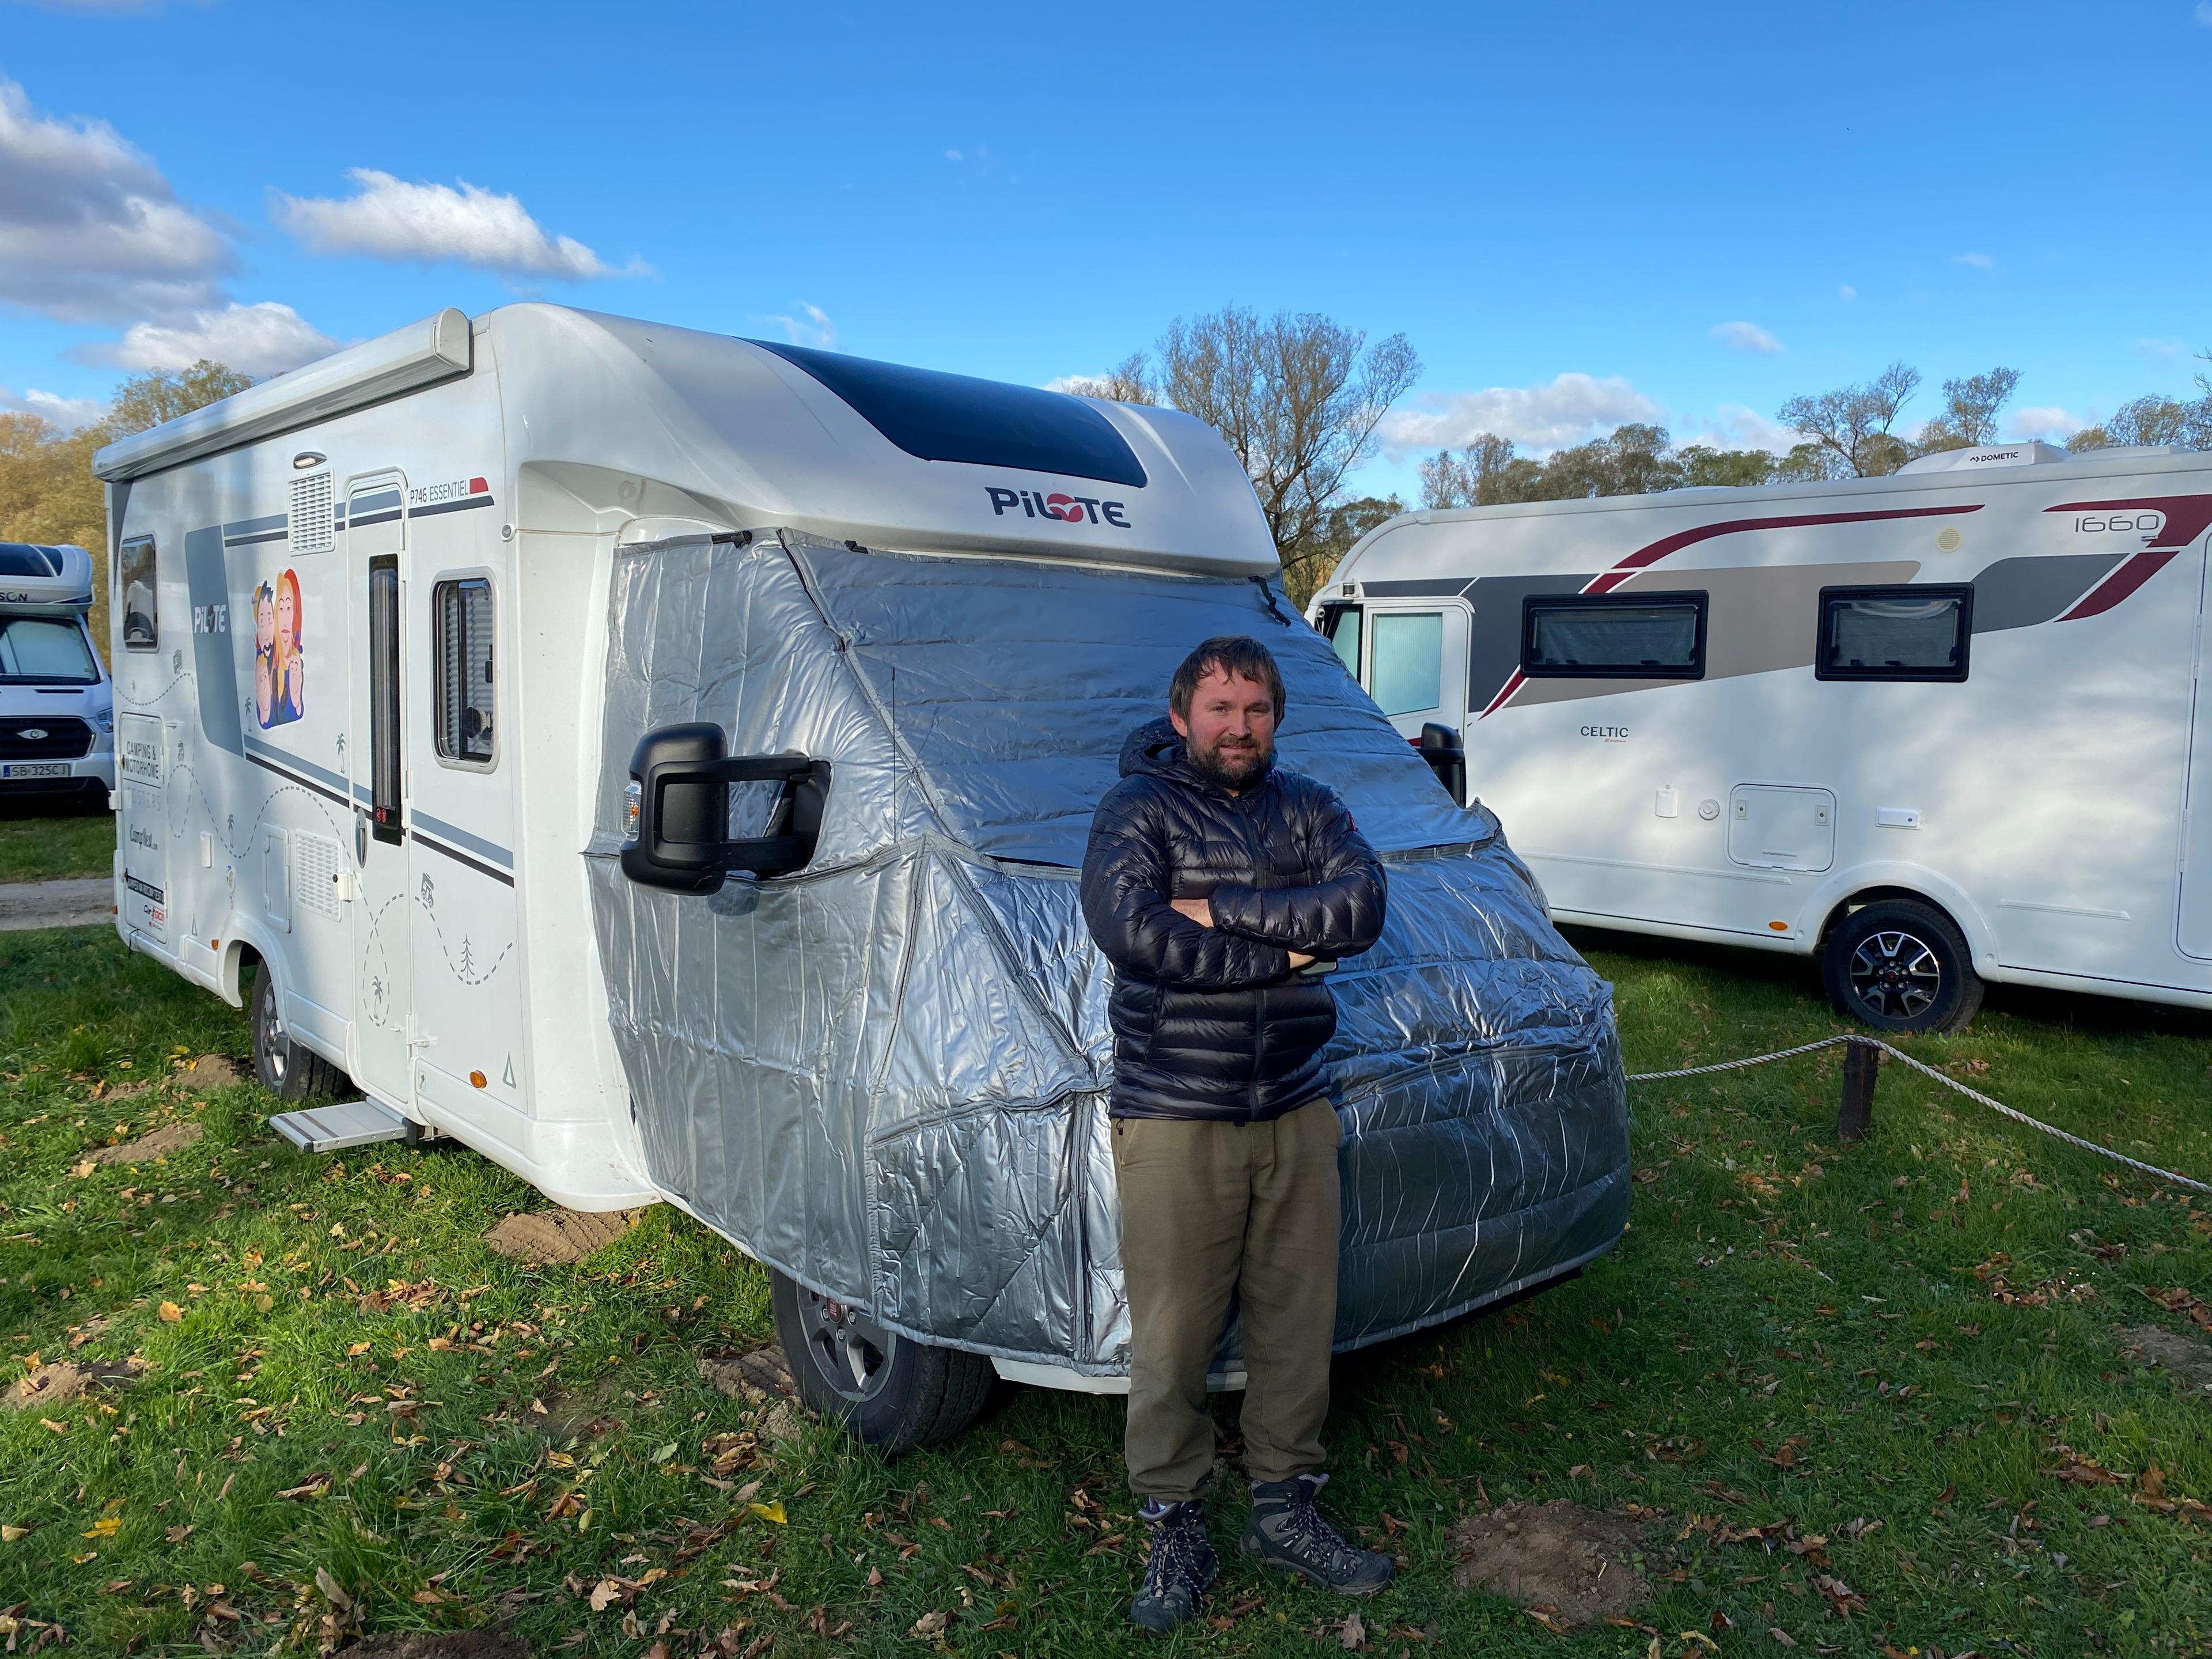
If your motorhome or caravan has not left the factory with winter protection, you can easily take care of such insulation on your own. On the floor in the caravan, it is enough to evenly place an Alufox mat (approx. 5 mm) and a carpet. The tanks can be protected from the outside by spraying foam.
Another way is to stick specialized insulating mats. If the gray water drain valve is outside the vehicle and is not insulated, it is worth looking at the possibilities of using a casing or a simple heating loop equipped with a thermostat (usually 230V).
Heating - the key to comfort
In really low temperatures, the most effective source of heating will always be a combination of different technologies or dedicated glycol-based winter heating (for example ALDE ).
In the case of motorhomes, a combination of gas heating (eg Truma) and a diesel fuel system (Webasto type) will be perfect. While ALDE heating can not be added to a motorhome or caravan, in most touring cars, Webasto / Eberspacher heating can be installed without major problems. Even in well-insulated vehicles, air blast heating will require a significant amount of gas.
Of course, the consumption of any heating media, apart from the structure of walls, roof and floor itself, will largely depend on the volume of the vehicle, outside temperature, humidity and the frequency of opening doors, hatches and windows. In a large caravan or an integra motorhome, in severe frosts, we can put on an average gas cylinder once every two days (the approximate value also takes into account the power supply of the DHW boiler and the lack of alternative sources of thermal energy). Of course, we will be in a much better situation if we have a power connection with sensible protection at the stopping point. Then, alternative heat sources available on board the vehicle (e.g. additional Truma heaters, air-conditioning or fan coil) can be used for heating (or additional heating). Farelki with exposed filament should be strongly discouraged - they can not only cause burns, but are also a frequent cause of fires.
Remember that heating systems alone will not cope with the removal of moisture created inside vehicles (especially if we use it when leaving our bathrooms). Therefore, we should always pay attention to proper ventilation. If we have a supply-exhaust fan located in the roof, it will be perfect here. If not, carefully unseal at least 2 roof windows. Similarly, if we dry ski equipment in a heated garage, let's think about airing it.
Accessories - what to take on a winter adventure

Condensation in the winter months is visible in motorhomes, especially on the windshields - the windshield and side windows. It is worth considering the purchase of a special insulating mat to prevent heat loss to reduce this phenomenon. Most of these mats are adapted to specific brands of vehicles and are attached to the body with suction cups or belts.

- a broom for clearing snow from the "shack", furniture, barbecue, shoes, etc.
- shovel AND shovel to clear the yard or undermine the wheels
- decent, thick mat / rubber doormat in front of the entrance
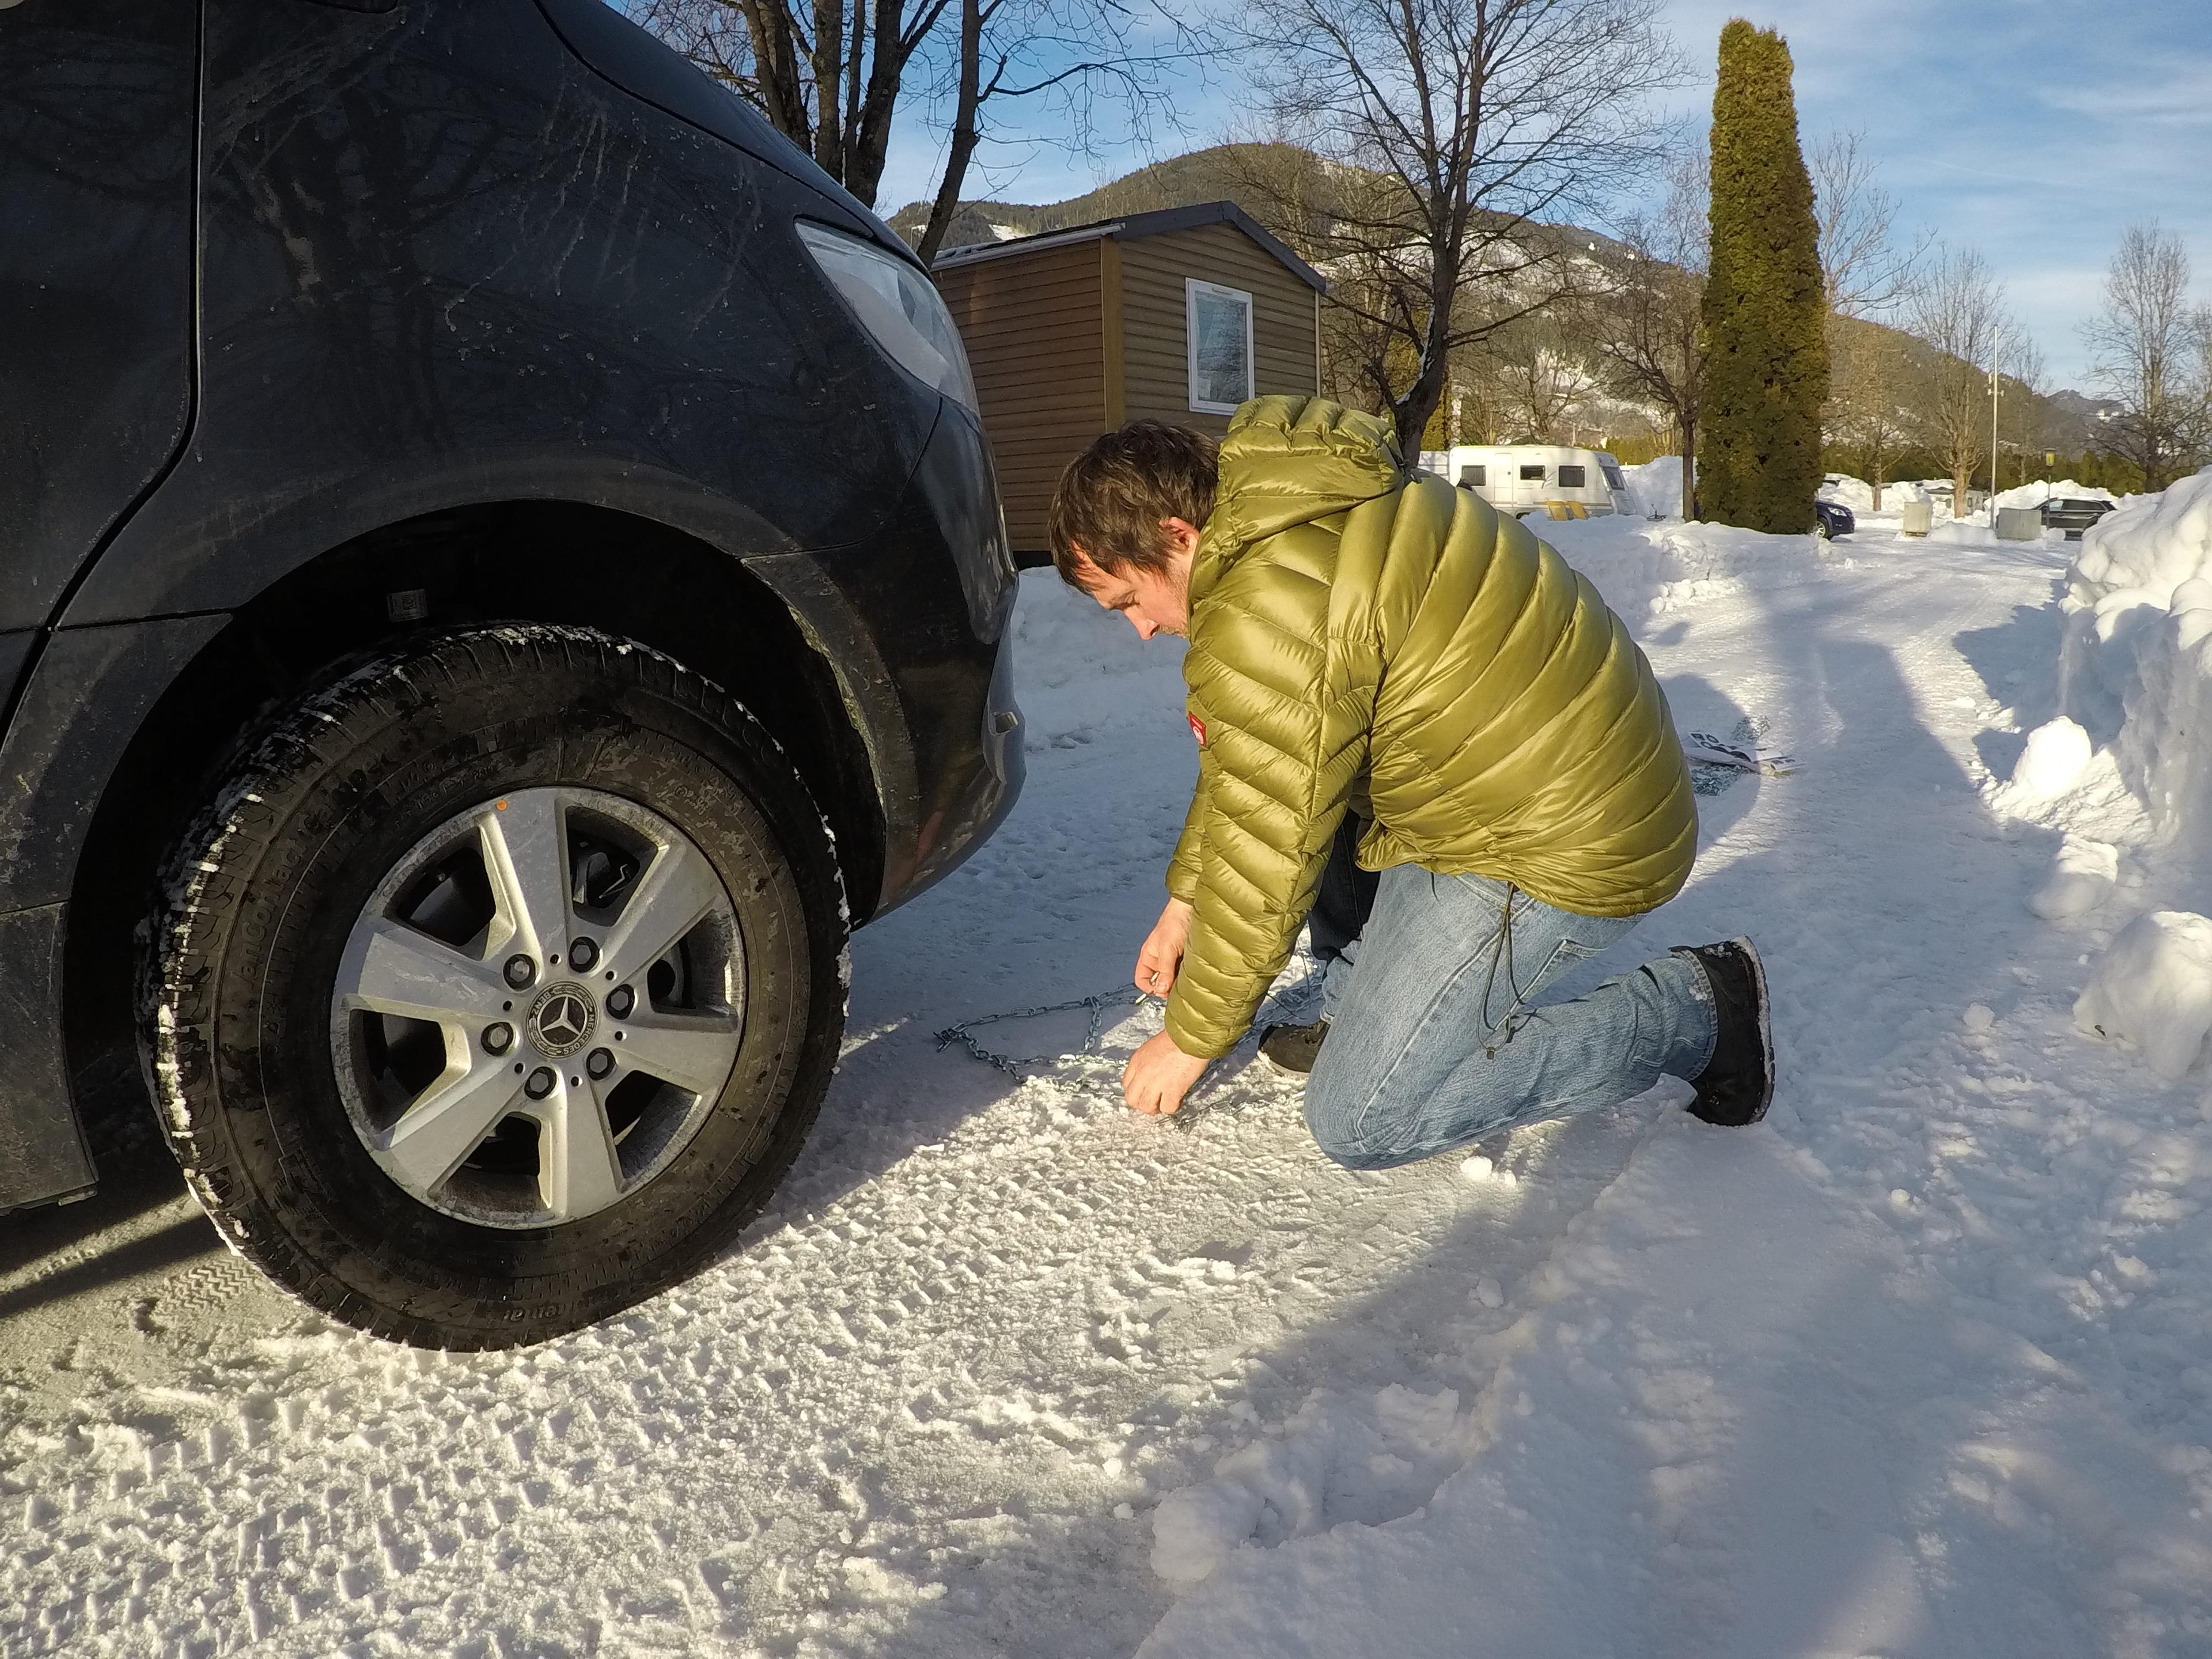
- wheel chains (obvious)
- a watering can or a portable water canister (in winter it is often not possible to draw water into the tank with a hose and you simply need to bring water from the sanitary or technical room)
- gas / diesel fuel supply
- to get rid of the condensate from the windows inside the vehicle, it is worth taking a battery-powered window cleaner (e.g. Karcher, Vileda) with you - it quickly and effectively sucks moisture from the windows into the container without the need for bothersome wiping
- external cover of the refrigerator grille - the refrigerator unit will not work effectively on frosty days - so it is worth taking the external plugs supplied with the motorhome or buy them.
Water installation - don't be surprised
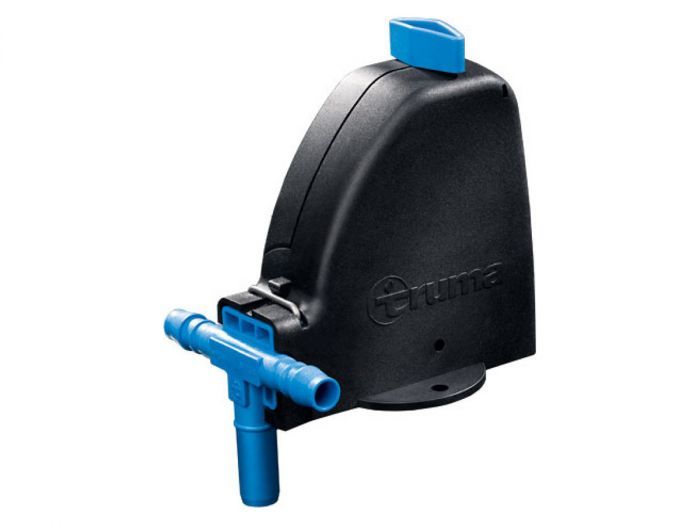
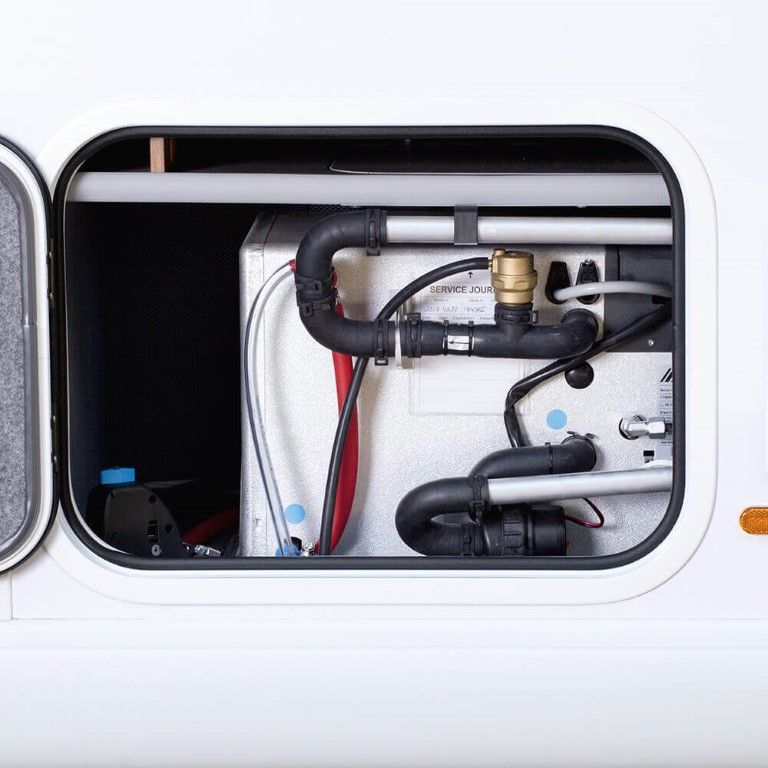
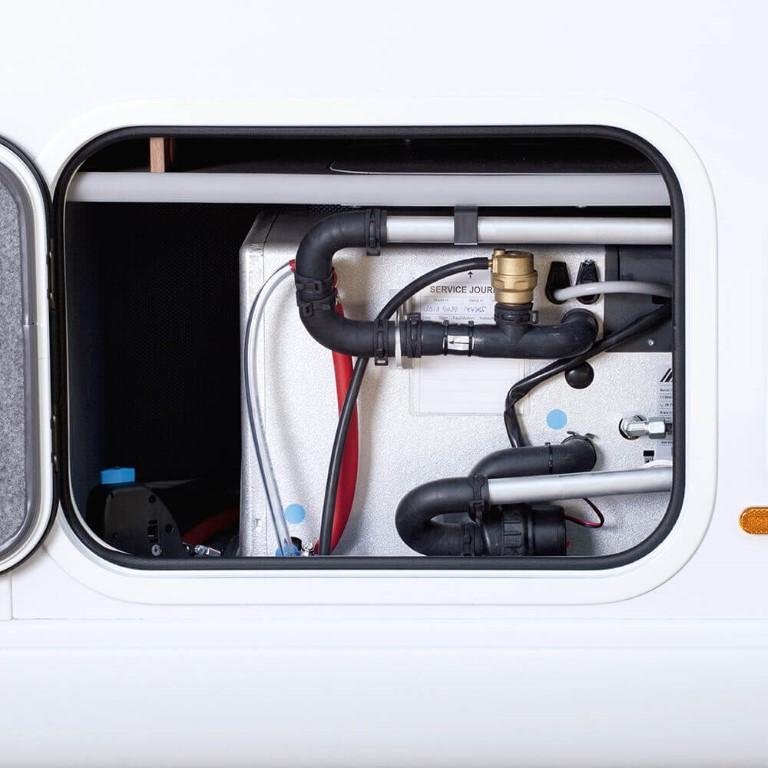
Close all safety valves (e.g. Truma anti-icing valve or similar), but also the closing valve of the gray water tank.
Fill the clean water tank.
After filling, check the tightness of the installation - in pressure systems, the pump should "build up" the pressure after filling the tank and turning on the power supply and not start up automatically before opening the intake valves inside the vehicle. If, after filling, it starts automatically for a short time at certain intervals, there is probably a leak in the system.
It is best to do the above activities on the day before departure and leave the heating on with a temperature setting that prevents the installation from freezing.
In trailers with tanks with submersible pumps, it is worth refilling the tanks and checking their operation. Submersible pumps are susceptible to damage by frost. It should be remembered that after filling the tank with clean water and starting the pump power supply, after opening the tap valves, the pipes must be deaerated before the water "flew". This may take a while.
After returning to the base or after turning off the heating, it is absolutely necessary to empty the tanks and water system. When emptying the tanks by gravity, it is worth leaving the taps in the bathroom / kitchen unscrewed (of course, you should turn off the power to the pump / pump first). Remember about emptying the boilers and about the lowest points of installation - if, for example, an external shower is installed in the garage and water flows into it, remember to get rid of it. It is recommended to leave the gray water tank drain valve open if possible.
Automatic anti-freeze valves (with manual release - e.g. Truma) and manual venting valves usually located at the lowest point of the system can often be helpful when emptying the clean water tank.
When it comes to securing the heating system, you must absolutely follow the manufacturer's instructions. After all, let's remember that heating is one of the most expensive elements of our houses, and even spare parts can cost a lot. Therefore, it is better to effectively prevent than to cure unpleasant consequences.


I feel best in the form of trade fairs and meetings with enthusiasts. Technical freak. In my life I have dismantled many motorhomes for the first time. Fan of large vehicles, mountain biking and traveling without weight and financial restrictions. At CampRest, I am responsible for all publications on automotive topics.